Power Up Your Canon 350D: My DIY 12V Adapter!
Power Your DSLR from 12V for Astrophotography (On a Budget!)
Ever been out on a chilly night, deep into an astrophotography session, only to have your DSLR battery give up the ghost way too soon? Digital camera batteries often struggle with low temperatures, draining incredibly fast. This usually means juggling at least two batteries and constantly recharging them throughout the night – not ideal when you’re trying to capture those elusive photons!
Another option is to grab an AC adapter, like the Canon ACK-E (around €60 in stores), which includes a dummy battery and a transformer. This is definitely a step up from battery juggling, as it lets you completely forget about battery woes… if you have an AC outlet handy. But let’s be real, €60 for such an accessory feels a bit steep to me! Plus, finding a wall socket in the middle of nowhere isn’t exactly easy when you’re out in the field.
Most astrophotography mounts already need a 12V power source (often a car battery), so wouldn’t it be awesome to design an electronic circuit that taps into that existing 12V and steps it down to the voltage your DSLR needs (around 8V for a Canon 350D)? That’s exactly what this little DIY project lets you do, and for less than €2!
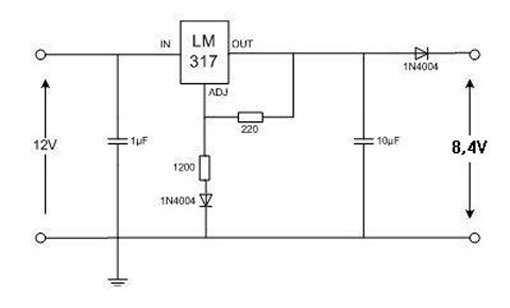
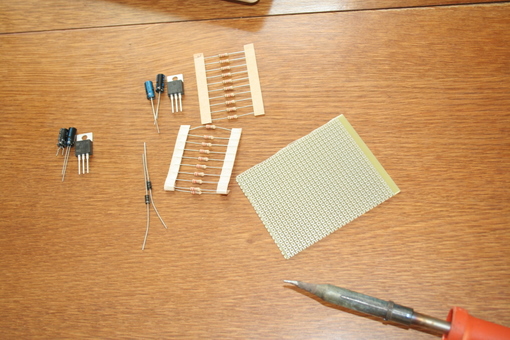
Here’s your shopping list:
- 1 x LM317 voltage regulator
- 1 x 1uF electrolytic capacitor
- 1 x 10uF electrolytic capacitor
- 2 x 1N4004 diodes
- 1 x 1200 Ohm resistor
- 1 x 220 Ohm resistor
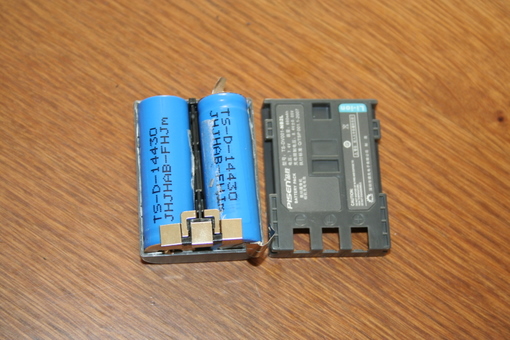
- 1 x old Canon battery
Heads up: This setup is only compatible with Canon 350D, 300D, 400D, 10D, 20D, and 30D models. Always double-check your camera’s supported voltage before hooking it up to this circuit, and adjust the design if necessary. You won’t need much in terms of tools – just a few components, a bit of time, and a decent soldering iron.
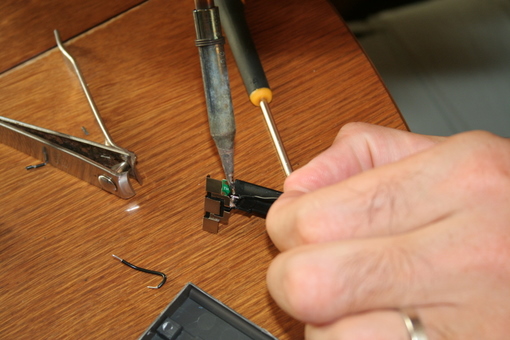
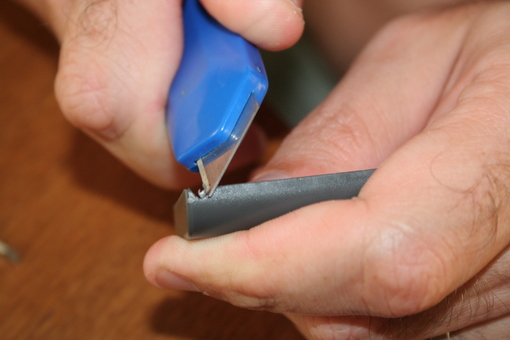
To connect the output of this circuit to your DSLR, you’ll need an old camera battery (or pick up a cheap, generic one). Carefully disassemble it with a cutter, keeping only the casing and the contact terminals. (Quick safety note: if the battery is charged, be careful not to short-circuit it, as it could catch fire!).
Once you’ve removed the battery cells from their casing, solder two small, rigid wires to the base of the contact terminals.
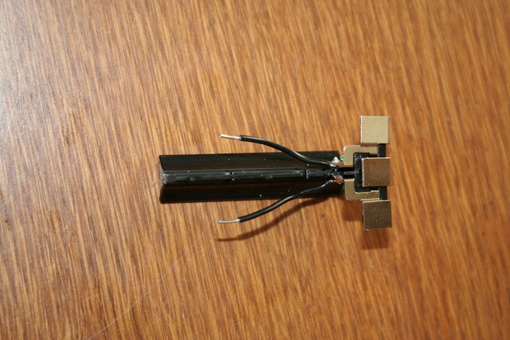
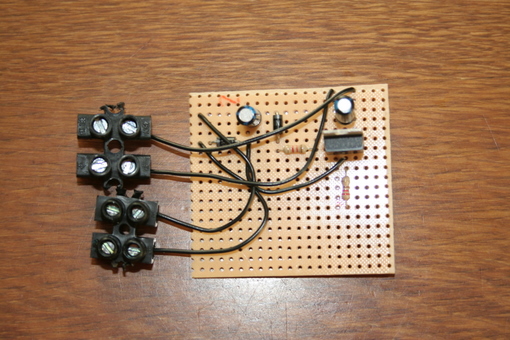
You can use terminal blocks to connect these rigid wires to the flexible cable that will run from the electronic circuit we just built.
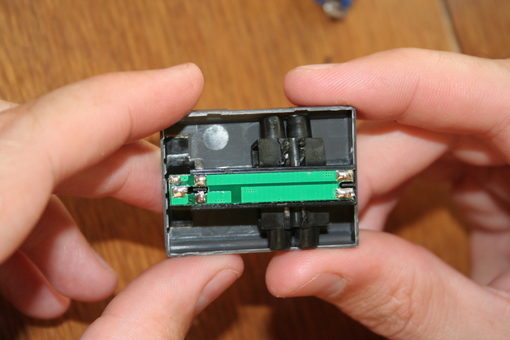
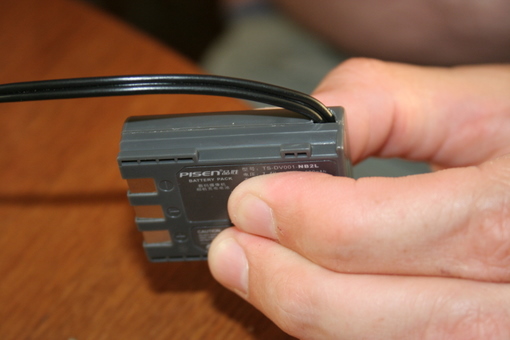
Next, use a cutter to make a small notch in the top cover of the battery casing. This will allow the flexible cable to pass through.
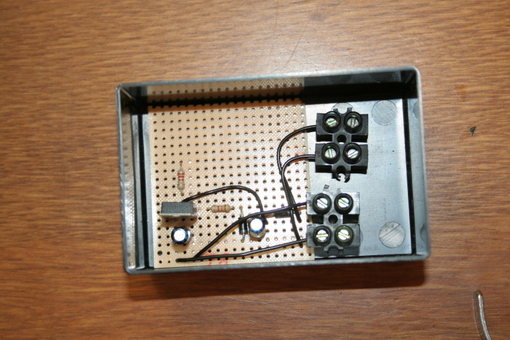
Finally, seal up your newly created dummy battery adapter with some cyanoacrylate glue (you know, super glue!).
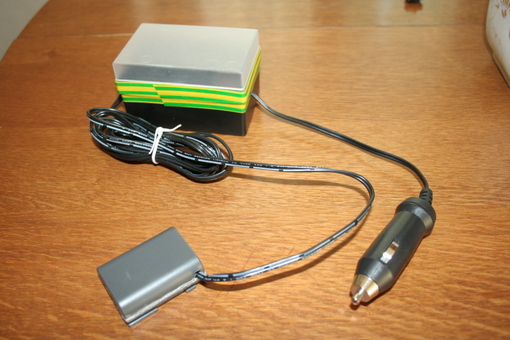
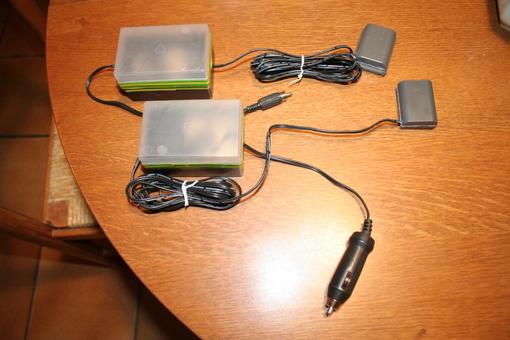
All that’s left is to plug in your 12V power source to the input, and voilà! You’re all set for long, worry-free nights of astrophotography!!!
Big thanks to Julio Corredera for the fantastic photos illustrating this post!