My DIY Canon EOS 350D Astrophotography Mod
H-Alpha Modding Your Canon 350D for Deep Sky Astrophotography
Canon EOS DSLRs are incredibly popular among amateur astrophotographers. Sure, they might not be on par with dedicated astronomy CCD cameras (like those from SBIG or FLI…). Most are limited to 12-bit sampling (compared to 16-bit for dedicated cameras), they aren’t cooled, and they use “CMOS” sensors, which are supposedly less performant than their CCD counterparts. But don’t let that fool you! These cameras are perfectly capable of producing absolutely stunning astro photos. The proof? Just do a quick Google search, and you’ll see for yourself the incredible deep-sky images these cameras can capture. The other massive advantage of DSLRs, of course, is the price. They typically cost 5 to 10 times less than a dedicated CCD camera – and the gap widens even further if you snag a used one!
The only real snag with stock Canon DSLRs for astrophotography is their built-in IR-cut filter. This filter barely lets any H-alpha light through (only about 10% transmission at that frequency!), which is a shame because this beautiful red emission line is so prevalent in many deep-sky objects, especially emission nebulae. For “daylight” photography, this filter is essential for rendering “natural” colors and blocking the infrared part of the spectrum, allowing for precise focusing on the visible light. To tackle this challenge, this tutorial will guide you through disassembling your camera, removing the original filter, replacing it with one that allows H-alpha light to pass, and finally, putting everything back together!
Why Replace the Filter and Not Just Remove the Original One?
- It’s much safer to prevent dust from settling directly on your camera’s CMOS sensor.
- If the original filter isn’t replaced, the optical path (distance between lens and sensor) is disrupted, and your autofocus will no longer work correctly.
- Without a filter, chromatic aberration can appear at certain wavelengths. Stars won’t look like stars anymore; they’ll turn into mushy blobs!
- Your camera becomes practically unusable for normal photography, as the colors will be completely distorted.
So, it’s crucial to replace the original filter with one specifically designed for this purpose. I recommend the Baader ACF II (for Canon 350D). Other models exist, but numerous positive experiences with this filter (including my own) should give you confidence in this choice.
A quick heads-up: The modification described below will void your camera’s warranty. If you make a mistake, you risk damaging your camera during the process. You’ve been warned! If you damage your camera, I cannot be held responsible.
Preparation
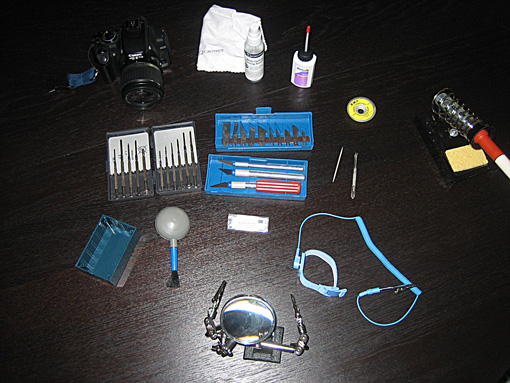
Still with me? Good! Apparently, my warning wasn’t enough to scare you off! Personally, I didn’t find the modification overly difficult, but you absolutely need to be very careful and take your time. Before you begin, you’ll need to gather a few tools to ensure the modification goes smoothly:
- An anti-static wrist strap
- Modeling glue (or any slightly thick adhesive)
- A set of precision cutters
- A soldering iron and a wet sponge
- An optical cleaning kit
- A toothpick
- Tweezers
- Desoldering braid
- A small box to keep screws organized and prevent them from getting lost during disassembly
- A blower or can of compressed air (for photographers)
- A set of tiny screwdrivers
Disassembly
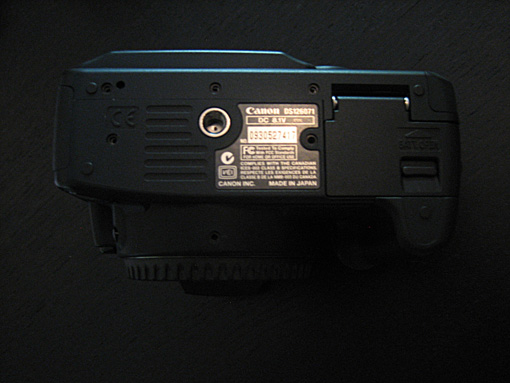
Alright, let’s get started! Remove the battery and the CompactFlash card. The first steps are straightforward. Begin by removing the screws on the bottom of the camera body.
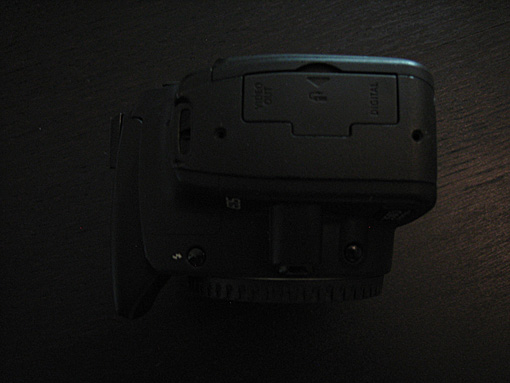
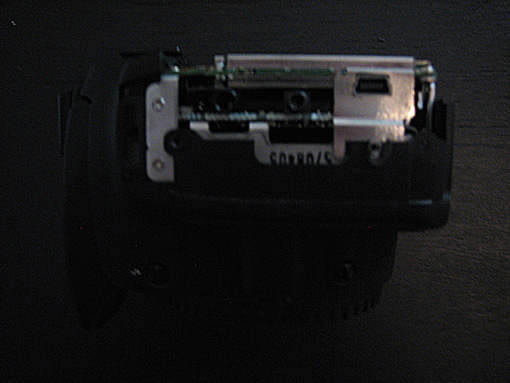
Next, move to the screws on the side, near the USB and Jack connectors.
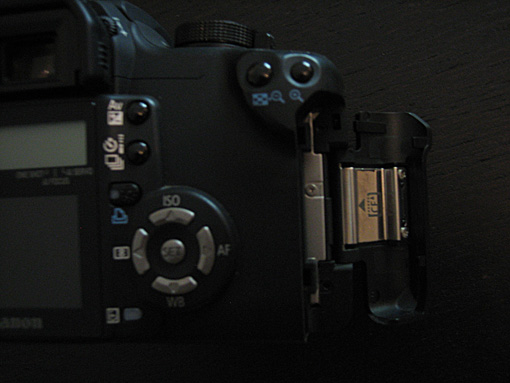
Now, open the CompactFlash card compartment and remove the three screws (two black and one silver).
Remove the eyecup by sliding it upwards.
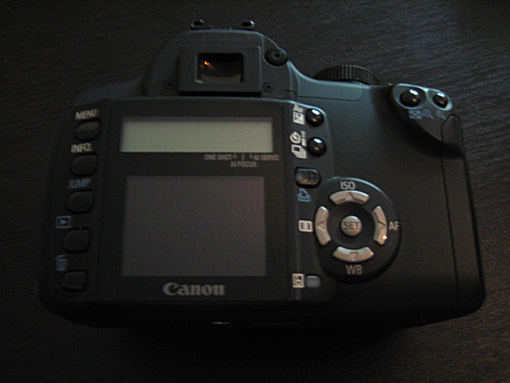
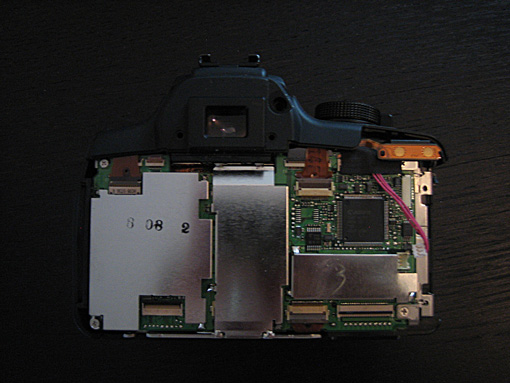
Okay, now things are getting serious. With the side and bottom screws removed, you can gently pry open the back of the camera body, starting from the bottom and working your way up with small, gentle movements. DO NOT FORCE IT!
CAUTION!!! There are two thin ribbon cables connecting the back panel to the main body of the camera. Do not rip the casing open like a brute, or you risk tearing these cables!
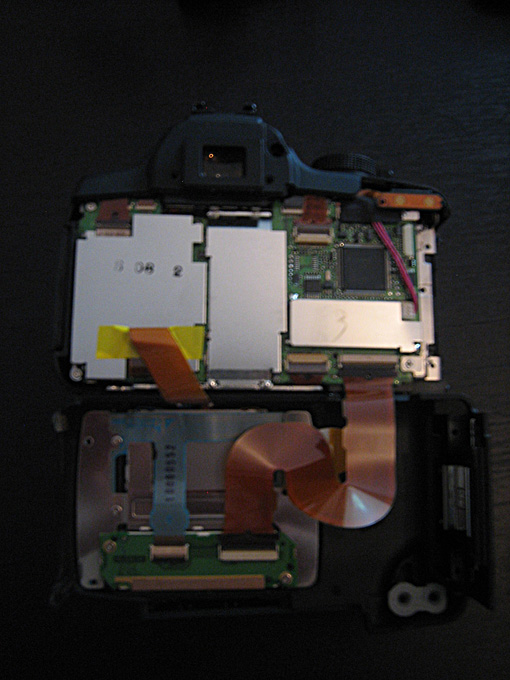
Once the back panel is separated from the camera body, you need to disconnect the ribbon cables. Start by delicately peeling off the yellow adhesive. To disconnect a ribbon cable, never pull hard on it. Simply lift the black lever (the color and position may vary) that locks it in place, then gently pull it out; it should almost slide out on its own.
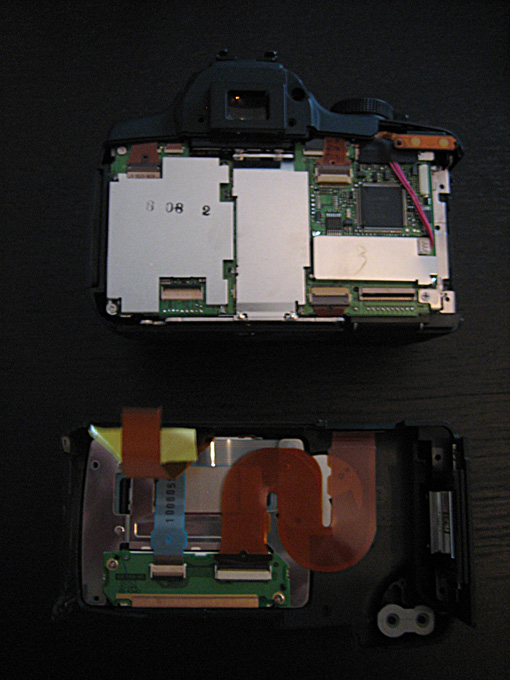
Set the back panel aside; you won’t need it again until reassembly. Now, the red three-wire cable needs to be disconnected. Be careful: it doesn’t unplug by pulling backward, as you might expect, but by pulling upwards (towards you). Fine-tipped tweezers or, even better, electronics pliers will make this operation much easier.
Let’s move on to the USB and Jack connector cover. You need to remove it by applying slight force to the side, then upwards.
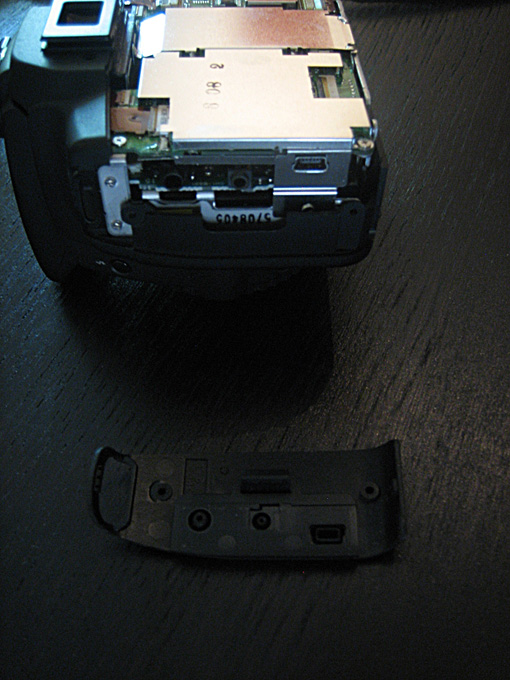
Heat up your soldering iron; you’re about to tackle the most “impressive” part of the operation. You’ll need to desolder the seven pins of the central metal plate to access the ribbon cables underneath. This step isn’t difficult if you’re comfortable using a soldering iron.
To desolder the pins, you can use desoldering braid. Place it in contact with the solder joint and heat the braid with your iron. The braid will conduct heat, melt the solder, and absorb it. Cut off the used piece of braid and repeat the process to minimize the amount of solder on each pin. Finally, gently pry with a small screwdriver and desolder one pin after another.
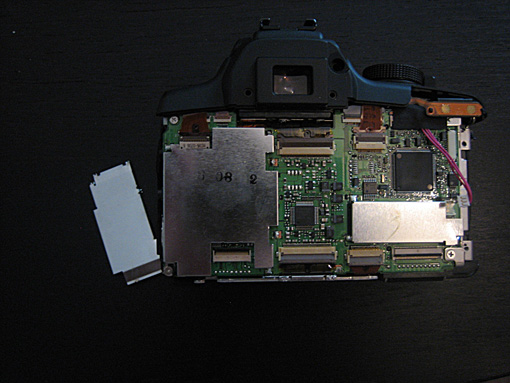
The plate is now removed, but don’t put away your soldering iron just yet. We’ll need it to make a small hole in the plastic of the casing next to the USB and Jack ports to access an otherwise inaccessible screw.
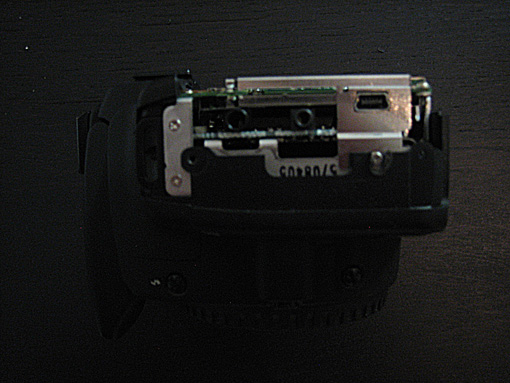
This hole will be invisible once the camera is reassembled because the perforated part is an inner layer, so no worries there. Remove the screw once the hole is large enough to access it without difficulty.
Now, you need to disconnect nine ribbon cables, some of which are very small and hidden behind larger ones! Take your time and don’t worry about reassembly yet; it will be much simpler than you imagine at this stage.
One of the ribbon cables is hidden under a thick black adhesive. Gently peel it off to avoid damaging anything underneath. Pay very close attention to the small surface-mount electronic components. There are indeed 9 ribbon cables to disconnect, but some are hidden by others and only appear once the covering cable is unplugged.
Once all the ribbon cables are disconnected, unscrew the four screws at the four corners of the plate. Lift the plate, but be careful: there’s a black cable on the other side that needs to be disconnected before you can remove it completely.
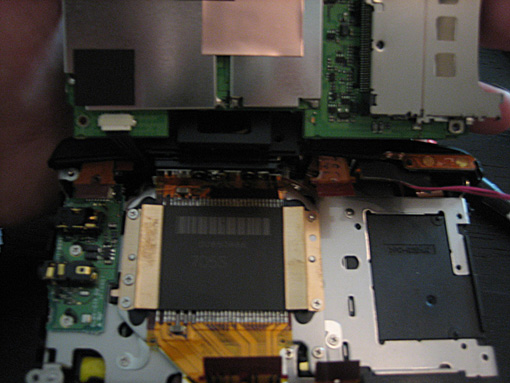
Use tweezers to disconnect it by gently pulling. You now have access to the back of the CMOS sensor. Unscrew the five screws holding it to the main plate. Be careful: once the screws are loosened, remove the sensor delicately. There are three “figure-eight” shaped washers near three of the screws you just removed, and they must remain in place. If they shift, you’ll need to reposition them before closing the casing.
That’s it! You finally have the CMOS sensor and its famous IR-cut filter in sight!
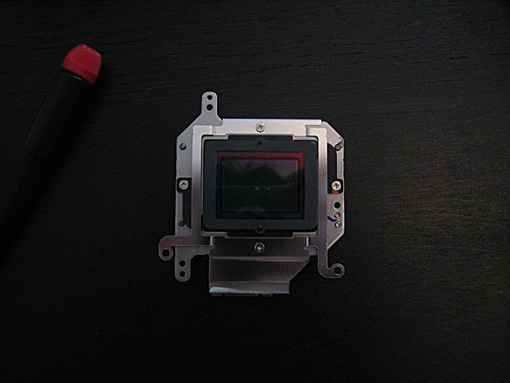
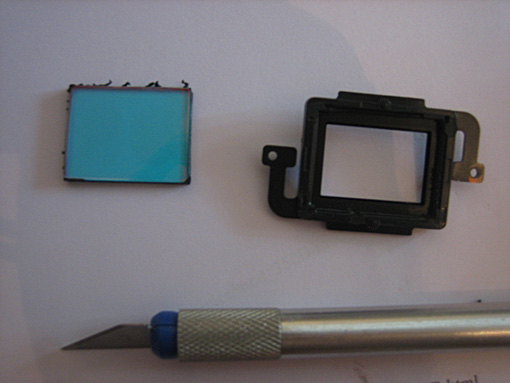
Unscrew all the screws to remove the metal frame. Now you’ll need to separate the plastic filter holder from the CMOS sensor mount. It’s quite well-glued, and you’ll need to use a precision cutter to gently pry and completely detach it. Be extremely careful not to touch the CMOS sensor with the tip of the cutter!
The holder is now detached. You’ll need to remove the filter from its holder.
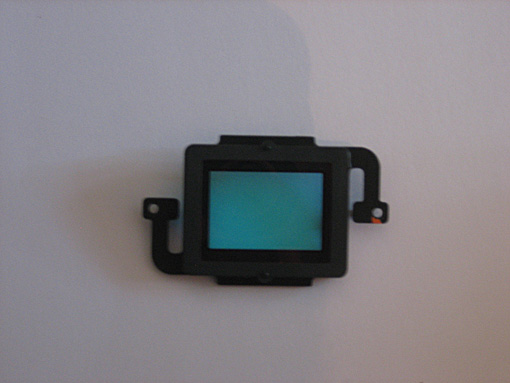
Use the cutter to remove the thin black film that goes around the filter and partially covers it. You can now cut the gasket around the filter to separate it from its holder. Once cut, press firmly on the other side of the filter to push it out. And there you go! The disassembly part is complete!
Filter Replacement
Take the Baader filter out of its packaging without touching it with your fingers! Apply four dots of glue to the four corners of the filter holder and glue your new filter into place. Make sure the filter is securely glued and in position. Remember to clean it thoroughly before moving on to the reassembly stage.
Reassembly
Reassembly is straightforward. Just follow this tutorial in reverse, making sure not to miss any steps, and you’ll have a 350D ready for deep-sky astrophotography and the glorious deep red of the H-alpha line!
This tutorial is unofficial, and the author cannot be held responsible for any damage that may occur to your camera!