Mastering Flats with MaximDL
Flats Made Easy: Your Quick Guide to Perfect Calibration Frames
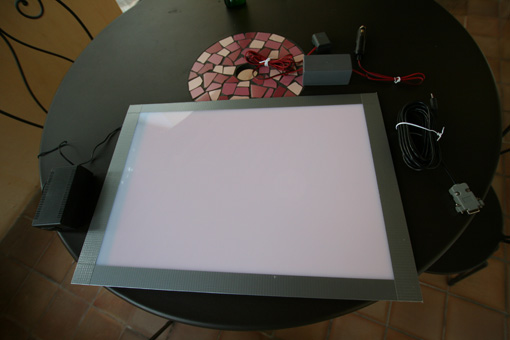
Creating flat frames is an essential step in astrophotography, but getting good ones can feel a bit daunting at first. Don’t worry, though! This tutorial is designed to guide you through making quality flats, simply and quickly! For this guide, I’ll be using a DIY flat panel, a Starlight Xpress Trius H694 CCD camera, and MaximDL 5.24.
First things first, you need to know your camera’s pixel capacity, often called ‘full-well capacity’. For a 16-bit CCD camera, this is typically 2^16 = 65535 ADU (Analog Digital Units). If you’re using a Canon EOS DSLR, which usually processes colors at 14 bits, this value will be 2^14 = 16383 ADU.
To get a good flat frame, the trick is to find an exposure duration that ‘fills’ only about one-third (1/3) of this capacity. So, for a 16-bit CCD camera, we’re aiming for roughly 65535 / 3 = 21845 ADU. I usually round this to 20000 ADU. For a Canon EOS DSLR, we’re looking for 16383 / 3 = 5461 ADU, which I round to 5500 ADU.
Okay, enough with the theory, right? Let’s dive into the practical side! It’s super straightforward with MaximDL:
- Power up your flat panel. If it has brightness control, set it to a medium level. This isn’t critical just yet.
- Take your first flat. In MaximDL, shoot a flat with your chosen filter (e.g., Luminance) and binning mode (e.g., 1x1). DSLR users, no worries about filters or binning here. For example, with a Luminance filter in 1x1 binning, try an exposure duration of around 0.1 seconds to start.
- Open the “Information” window and switch to “Area” mode:
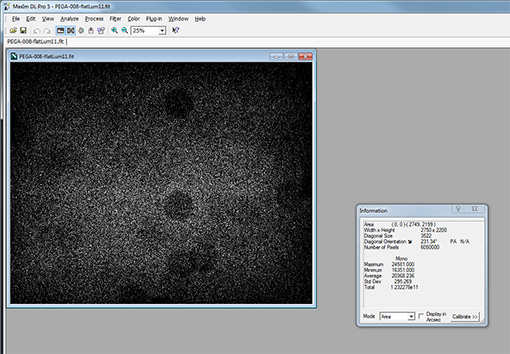
- The value we’re interested in is labeled “Average”:
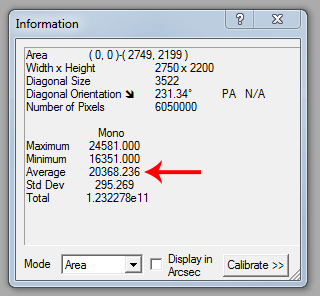
- Now, the goal is to adjust your exposure time to get as close as possible to those target ADU values we calculated earlier: 20000 ADU for a 16-bit CCD camera or 5500 ADU for a Canon EOS DSLR. If your flat panel has brightness control, I recommend setting it once to a level that allows you to hit your desired Luminance Bin 1x1 value at around 0.1 seconds.
- In just a few shots, you should quickly reach your desired value. Note it down and repeat the process for all your filters. If you’re using a Canon DSLR, I recommend shooting your flats at 800 ISO.
- Shoot at least 25 flats per filter and combine them to create your master flats. Personally, I do this preprocessing step in PixInsight. You’ll find some excellent video tutorials on this topic over at the AIP website (annual membership is 25€).

For reference, here are the exposure durations I get for my various filters with the H694 and my flat panel in the observatory:
BIN 1x1: LUMINANCE: 0.1s RED: 0.28s GREEN: 0.29s BLUE: 0.31s Ha: 6.6s SII: 11.1s OIII: 3.2s
BIN 2x2: LUMINANCE: 0.029s RED: 0.08s GREEN: 0.082s BLUE: 0.089s Ha: 2.12s SII: 3.45s OIII: 1.17s