Polar Alignment with the King Method: A Deep Dive
Polar Alignment Perfection: The King Method with Astro-Snap (and a Webcam!)
Want to nail your polar alignment with impressive precision? This guide walks you through the King Method using a webcam and Axel Canicio’s Astro-Snap software. A huge thanks to Mr. Alain Uziel for putting this fantastic tutorial together!
Step 1: First things first: Get your mount roughly polar aligned using your polar scope. Aim for the best precision you can achieve at this initial stage.
Step 2: Fire up Astro-Snap and configure your settings.
- Preferences/Optics: Input your telescope’s focal length (e.g., 910 mm in my case).
- Preferences/Polar Alignment: Double-check that the “invert corrections” boxes are not checked.
- Start your camera.
- Point your scope at Polaris and center it on the screen using your mount’s hand controller. Adjust your camera’s brightness: aim for around 50-75% gain and a shutter speed of 1/100th to 1/200th of a second.
Step 3: Position your webcam parallel to the ground, with the top of the webcam facing the sky.
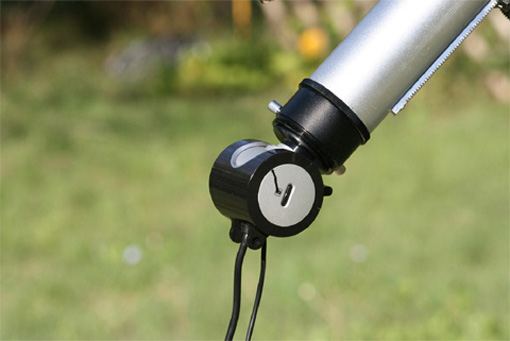
- Display the reticle. It should be oriented horizontally: North at the top, South at the bottom, East to the left, and West to the right.
- Do not use the camera’s orientation function.
- To check if your camera is truly horizontal, adjust your mount’s azimuth knobs (horizontal movement). Polaris should move horizontally across the screen, parallel to the reticle’s East-West axis.
- Engage your mount’s sidereal tracking and keep it active throughout the entire process.
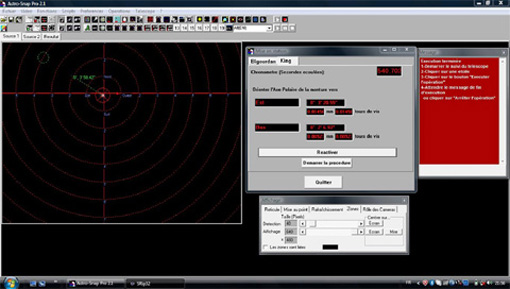
Step 4: Go to Operations/Polar Alignment Aid.
- Run the script. Let the calculations crunch for about 5 minutes.
- Then, hit Pause.

- The green arrow originating from Polaris indicates the correction direction, and the numbers show the distance from the ideal position. Adjust your mount’s azimuth and altitude knobs to move the star along the green dotted line. It’s usually best to start corrections with the axis showing the largest error (the azimuthal axis in this example).
- Re-center Polaris on the screen using your mount’s hand controller.
- Next, click the “Reactivate” button and immediately stop the operation using the small red square stop button.
Step 5: Restart the operation with the star’s new position by clicking “Start Procedure.”
- Simply follow the guidance of the green dotted line and make corrections on both axes.
Step 6: After several iterations of the procedure, a green circle will appear on the screen at the end of the green line.
- Again, hit “Pause,” and use your adjustment knobs to move the star as close to the circle as possible (ideally, into the circle).
- Press “Reactivate” again, and then stop the procedure.
- Re-center the star on the screen using your hand controller. Restart the operation. This time, let the software run for at least 10 minutes to get a stable position for the green circle. Then, move the star only half the distance towards the “estimated” center of the circle’s positions. This helps avoid a “yo-yo” effect.
At this stage of polar alignment, atmospheric turbulence can significantly affect your measurements, making it tricky to pinpoint Polaris’s ideal position. The green circle will “dance” around your current position. Your goal is to find the central point around which this green circle “orbits.” Once you’ve identified that, simply place the star on that central point. This technique helps ensure your polar alignment error is less than 1 arc minute – pretty precise!
